When most people hear the word prepper, images of off-grid cabins, large rural homesteads, or bunkers packed with five years’ worth of food usually come to mind. And while those scenarios exist, that’s not the only way to be prepared for emergencies.
In reality, many of us live in urban apartments, suburban neighborhoods, or homes with limited space and budgets. The good news? Prepping isn’t just for rural folks with acres of land—it’s for everyone. And arguably, prepping is even more essential if you live in a city or suburban area.
Why? Because when disaster strikes—whether it’s a power outage, natural disaster, civil unrest, or supply chain disruption—urban and suburban areas are often hit hardest and recover slowest. Being prepared gives you peace of mind and real solutions when resources become limited.
Step One: Start With a Plan
Before buying a single item, you need to start with a preparedness plan. This includes understanding the risks in your area (floods, earthquakes, blackouts, etc.), setting up communication strategies with family, and knowing evacuation routes.
A solid emergency plan answers key questions like:
- How will we communicate if cell towers go down?
- Where will we go if we need to leave quickly?
- Who is responsible for what during an emergency?
- What’s our plan for staying put vs. bugging out?

Your plan becomes the foundation that everything else builds on.
Step Two: Water – The #1 Priority
Without water, we’re in trouble fast. Most people can survive three weeks without food—but only three days without water.
Start by storing at least one gallon of water per person per day for a minimum of three days (ideally two weeks). You can use store-bought bottles, food-grade water containers, or repurposed soda bottles. Also consider getting a water filter or purification tablets in case your stored water runs out or gets contaminated.
Step Three: Build a Practical Food Supply
You don’t need a year’s supply of freeze-dried meals. Start with what you eat. Canned goods, dried beans, rice, oats, and pasta are affordable and have a long shelf life. Gradually build up a two-week food supply, rotating items out as needed.
The key is to stock what you’ll actually eat—and learn how to cook it without power if necessary.
Step Four: Think About Protection
Emergencies can bring uncertainty and, in some cases, danger. Protection means more than just self-defense—it’s also about securing your home, having flashlights or headlamps, batteries, and fire extinguishers, and knowing how to use them.

If you choose to include self-defense tools, ensure you’re trained and understand the legalities in your area.
Step Five: Medical and Hygiene Supplies
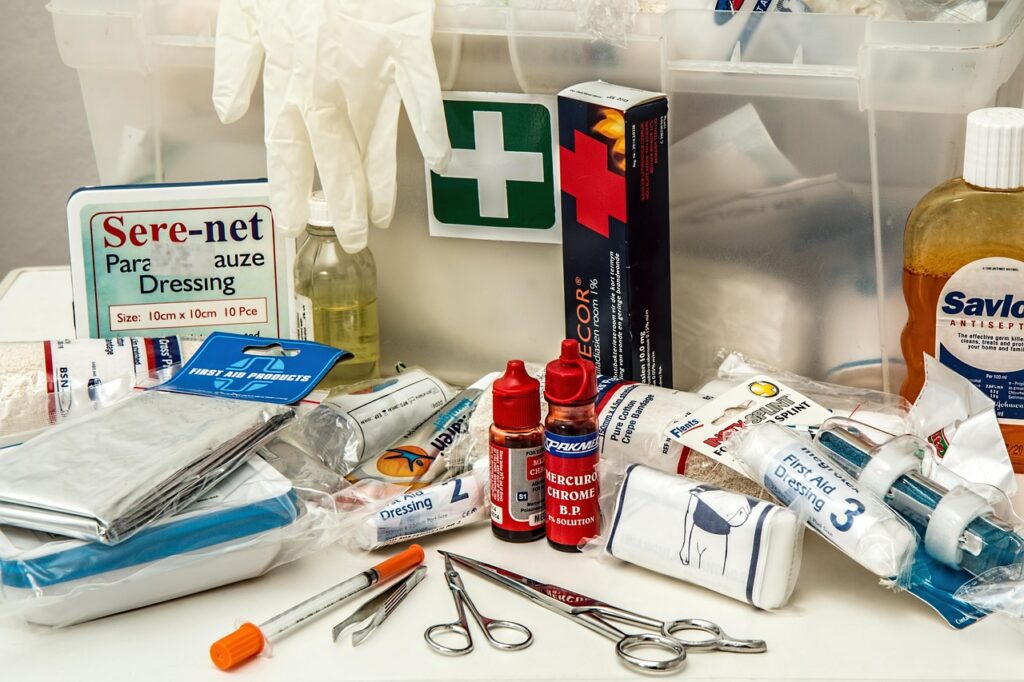
A well-stocked first aid kit is a must. Include basics like bandages, antiseptics, pain relievers, and any personal prescriptions. Add hygiene supplies such as soap, hand sanitizer, toothpaste, feminine care, and even a backup toilet plan (like portable bags or a bucket system).
Hygiene helps prevent disease, which becomes especially important in long-term emergencies.
Step Six: Customize for Your Family’s Needs
Prepping isn’t one-size-fits-all. If you have babies, seniors, or anyone with medical needs in your household, be sure your plan accounts for their unique supplies. Don’t forget about your pets—they’ll need food, water, and comfort items, too.
Make a list of essentials that apply to your unique household and build those into your prep.
Final Thoughts
You don’t have to do everything at once. Prepping is a journey that starts with small, intentional steps and is only helpful if you do it before disaster strikes! Begin with a plan, add water, food, and basic supplies, and grow from there. And remember: you don’t need to live on a farm or a large, out-of-the-way piece of property to be prepared. Prepping is just smart living, whether you’re in a high-rise in the city or a small home in the suburbs.
Start where you are, use what you have, and take one step at a time.
Have tips you’d like to share? Leave a comment below.

Leave a Reply